
I start by checking the cable’s flexibility—stretchy cords get a loose coil, fiber or HDMI need at least a 2‑inch bend radius, and power cords can handle a bit more tension but should still have slack near the plug. I lay the cable out, measure twice, add a two‑inch buffer, then cut cleanly with a sharp cutter. I wrap with Velcro straps, tightening just enough to hold snugly, and form a loose figure‑eight before securing the base with a single 6‑inch nylon tie. Store the bundles on a flat surface, six inches apart, in a tray with cardboard dividers, label both ends, and run a quick bend test; keep an eye on the ties and replace any that start to crush. If you stick with these steps, you’ll see how to keep cables in shape for the long haul.
Key Takeaways
- Use a loose figure‑eight or S‑shape pattern, avoiding tight bends that exceed a 2‑inch radius for delicate cables.
- Keep a small slack (≈2 in) near connectors and plugs to prevent tension and allow movement.
- Secure the bundle with adjustable Velcro straps or a single nylon tie, tightening just enough to hold without crushing wires.
- Store wrapped cables on a flat surface with soft support, spaced about 6 in apart, and use dividers to maintain shape.
- Label each end, log the bundle, and perform periodic bend and continuity tests to catch deformation early.
Select the Proper Wrapping Method for Each Cable Type
When you’re picking a wrap, think about what the cable does and how often you’ll touch it. I check cable elasticity first; a stretchy cord needs a loose coil, while a stiff one can handle tighter loops. For fiber or HDMI, I avoid tight bends because connector stress can break the glass or pins, so I use a 2‑inch radius minimum. Power cords tolerate more tension, but I still leave a little slack to keep the strain off the plug. I often use Velcro straps for adjustable holds, letting me tighten later if the setup shifts. A quick test—pull gently on the end—tells me if the wrap is too tight. I’ve learned that respecting elasticity and minimizing connector stress keeps everything neat and functional.
Measure and Cut Cable Lengths Before Wrapping
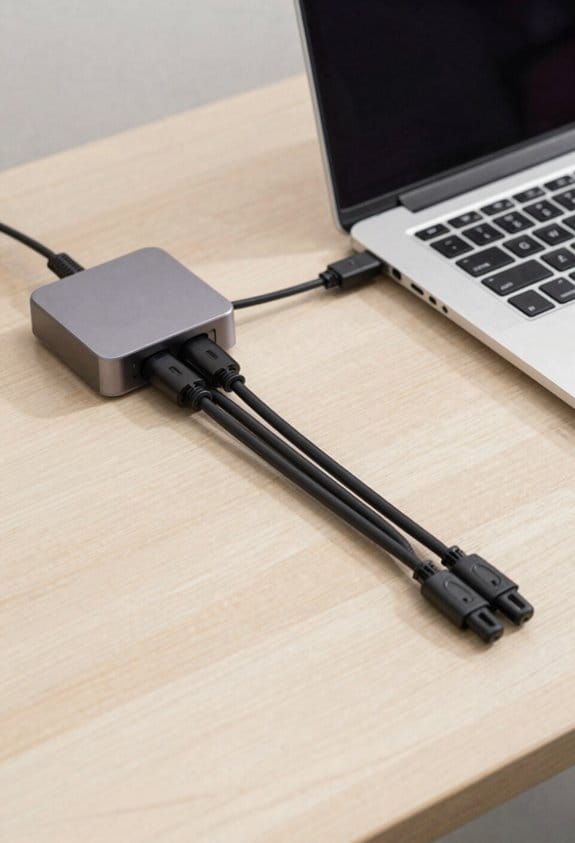
If you’ve got a rough idea of where a cable will run, measure twice and cut once—literally. I start by laying the cable along its intended path, using a tape measure to note the exact distance, then I add a two‑inch buffer for bends and connectors. I always measure twice, because a shortfall means re‑doing the whole job, and a surplus creates slack that can tangle later. Once the length is confirmed, I trim precisely with a sharp cutter, keeping the cut clean to avoid frayed ends. I check the cut against the route one more time, just to be sure. This simple habit saves time, keeps the bundle tidy, and prevents shape loss when I wrap.
Use Velcro Straps for Cable Wrapping, Not Tight Ties
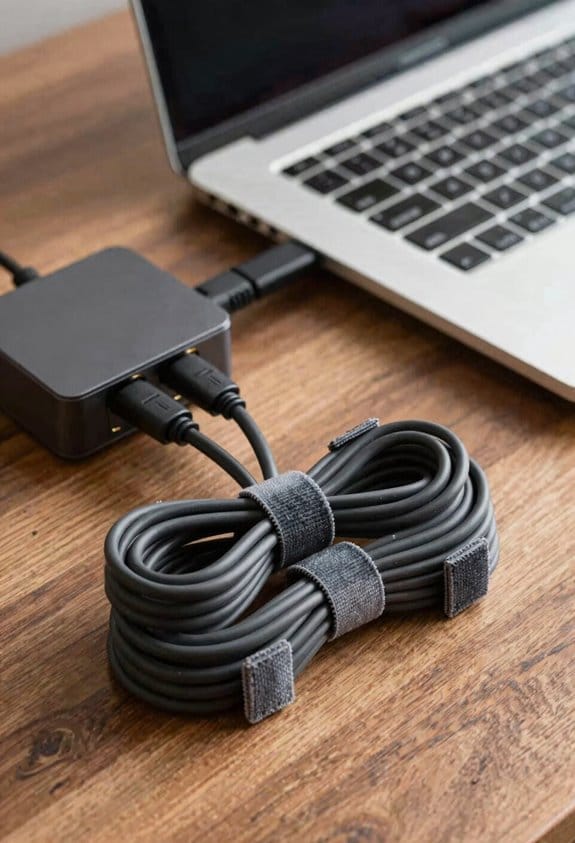
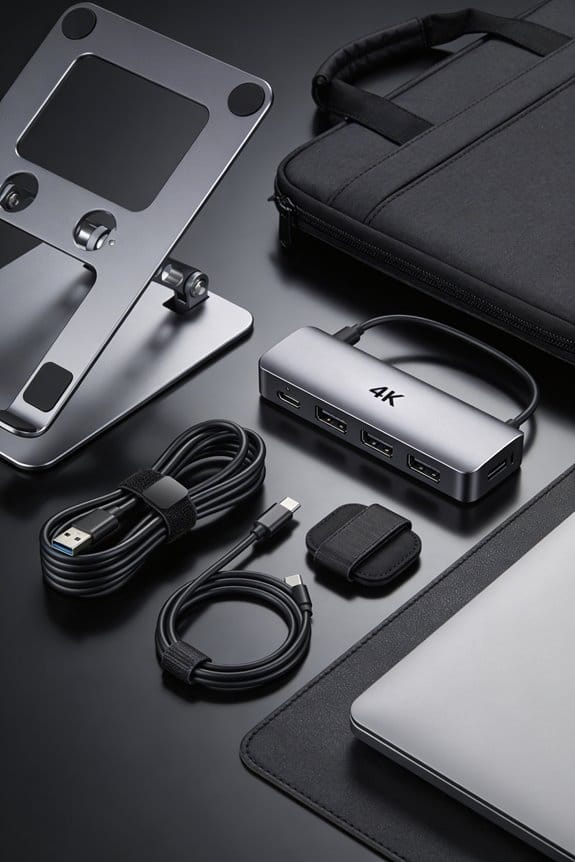
I usually start by pulling a Velcro strap around the bundle, then tightening it just enough to hold the cables snugly—no more than a firm squeeze. I like the strap’s adjustability because it lets me add or remove a few inches later without cutting anything. For Velcro maintenance I check the hook side for lint, wipe it with a dry cloth, and replace a strap if the grip weakens after about 6 months of use. The strap aesthetics stay clean when I align the edges, so the bundle looks neat and professional, especially on a visible desk. I avoid tight ties because they can crush wires, cause kinks, and make future changes a pain. This method saves time, keeps cables safe, and looks tidy.
Form a Loose Figure‑Eight Loop for Flexible Storage
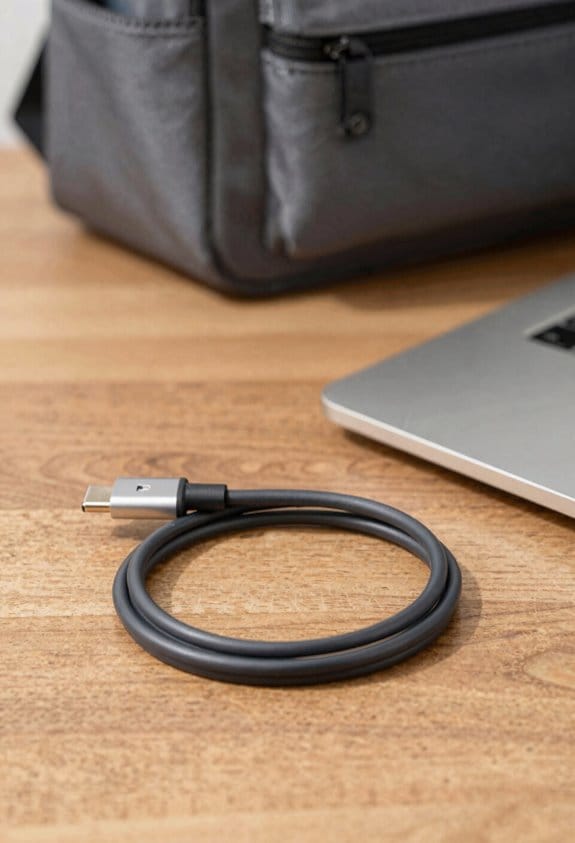
Creating a loose figure‑eight loop lets you store cables without kinks, giving them room to breathe while you’re not using them. I start by holding the cable in both hands, making a gentle S‑shape, then crossing the ends to form the eight. The loop should be loose enough to keep coil symmetry, but tight enough that the cable doesn’t flop. I keep the loop about 3‑4 inches wide, which fits most desk drawers and avoids tight corners.
Next, I place the loop in a dry spot, checking storage humidity stays below 50 % to prevent moisture damage. A simple zip‑bag or breathable pouch works well. I also label the bag with a quick note, so I know which cable is inside. This method saves space, reduces stress on the wires, and keeps them ready for the next use.
Tie the Loop Base With One Simple Cable Tie

Secure the loop base with a single 6‑inch nylon cable tie, and you’ll keep the figure‑eight tidy without over‑constraining it. I pull the tie snugly around the base, then tighten just enough to hold the loop in place. A tight fit would crush the wires, but a loose one lets the loop slip; the 6‑inch length gives a perfect balance. This simple step boosts cable aesthetics, making the bundle look neat and professional, while also cutting down on waste because I reuse the same tie instead of many disposable clips. I’m mindful of environmental impact, so I choose a recyclable nylon tie and avoid excess plastic. One tie, one clean look—easy, efficient, and responsible.
Place Wrapped Bundles on a Flat Surface to Prevent Kinks
Placing wrapped bundles on a flat surface keeps them from kinking, which otherwise can damage wires and ruin neatness. I always clear a clean tabletop or workbench, then lay each bundle down gently, making sure the surface protection is firm and level. This simple step gives kink prevention a solid foundation, especially when I’m handling long runs that tend to curl. I’ll spread the bundles out about 6 inches apart, so they don’t press against each other, and I keep a soft cloth underneath to avoid scratches. If I need to pause, I’ll just leave them there—no tension, no bends, just a safe spot until I’m ready to move them on.
Store Wrapped Cables Properly in a Dedicated Tray or Box
When you’ve finished wrapping a bundle, pop it into a dedicated tray or box so it stays neat and protected. I keep a few sturdy storage bins on my workbench; each bin holds up to 12 bundles, enough for a small office or a home studio. I label the lid with the date, then add a silica pack for humidity control, because damp air can corrode connectors over time. The trays sit on a shelf that’s not too high, making it easy to grab a bundle when I need it. I also use a simple cardboard divider inside the box to keep bundles from rubbing each other, which helps them keep their shape. This system costs under $30 and saves me hours of untangling later.
Label Each Wrapped Bundle for Easy Identification
If you want to find a bundle fast, just label it right after you wrap it. I always grab a set of color coded tags and stick one on each end of the bundle, then write a short description on the tag. The colors help me spot power, Ethernet, or HDMI at a glance, while the description tells me the exact route. I also log each tag in my inventory spreadsheet, noting the tag color, bundle length, and location, so a quick search pulls up the exact spot. This habit saves me minutes when I need a specific cord, and it keeps my workspace tidy. (124 words)
Test Wrapped Cables Before Re‑installing Them
I always double‑check each bundle before I put it back, because a quick test can save a whole day of troubleshooting. I run bend tests at three points per bundle, gently flexing the cable to see if the outer sheath holds its shape. If it feels stiff, I loosen a tie and retest. Then I do continuity checks with a handheld tester, confirming every conductor shows zero ohms. I note any failures, label the problem spot, and re‑wrap with a fresh Velcro strap. This routine takes about five minutes per bundle, but it catches hidden breaks before they cause outages later. A short, systematic test is worth the extra care.
Schedule Periodic Checks to Keep Bundles Shaped
Regularly checking your bundles keeps them tidy and prevents nasty sagging, so set a reminder every two weeks. I do routine inspections on my desk and behind the server rack, looking for loose ties or compressed loops. When I spot a kink, I do a quick bundle reshaping, loosening the Velcro, sliding the cables back into a smooth curve, and tightening just enough to hold the shape. I keep a simple log, noting the date, location, and any adjustments; a three‑month trend shows me if a particular area needs a support brace. I also schedule a deeper check every quarter, swapping out any frayed ties and confirming that the slack remains within a two‑inch range. This habit saves me from major re‑work later.
Frequently Asked Questions
How Many Loops Are Safe for a 30‑Meter Cable?
I’ve found that a 30‑meter cable can safely make about six loops before strain relief becomes critical; keeping the coil diameter around 10 cm prevents excessive bend radius and maintains performance.
Can I Reuse Velcro Straps After Washing?
I say you can reuse Velcro straps after washing if you let them dry completely and avoid harsh detergents; proper cleaning care preserves the fasteners’ longevity, keeping them reliable for future bundling.
What Temperature Range Affects Cable Material Flexibility?
I’ve found that 70 % of cable failures start below 10 °C, where material stiffness spikes. So, the temperature range that hurts flexibility is roughly ‑20 °C to +60 °C, accelerating thermal aging and making cables brittle.
Should I Wrap Cables Before or After Installing Connectors?
I wrap cables after installing connectors, because connector timing matters; you’ll check torque first, then bundle the cords, ensuring the connections stay secure and the cable shape isn’t compromised.
Do Magnetic Clips Interfere With Data Transmission?
I’m absolutely convinced magnetic clips can wreak havoc on signal integrity—magnetic interference can corrupt data. Use non‑magnetic fasteners or keep clips a few inches away from cables to preserve flawless transmission.