We start by gathering a thin plastic card, a soft microfiber cloth, a 70 % isopropyl‑alcohol bottle, and a cotton swab, plus a gentle hair‑dryer set to 40–50 °C for stubborn spots. Using the card, we lift the adhesive from a corner, keeping it flat and moving slowly to avoid yanking, while a cardboard shield or cloth protects the laptop finish. After the bulk lifts off, we dab the residue with alcohol, wait 30 seconds, then wipe with a lint‑free cloth; stubborn bits get a tiny dab and a minute’s wait. Finally, we dry the surface, store the reusable tape in a cool, dry zip‑lock with a silica gel packet, and you’ll find more tips if you keep going.
Key Takeaways
- Power off the laptop, unplug all cables, and work on a flat, static‑free surface.
- Use a thin plastic card or fingernail to gently lift the adhesive from a corner, keeping the card flat and angled a few degrees.
- Place a soft microfiber cloth or thin cardboard under the adhesive edge as a shield to protect the laptop finish.
- Apply 70 % isopropyl alcohol with a cotton swab to any residue, let it sit 30 seconds, then scrape gently with the plastic card.
- Dry the surface completely before re‑attaching accessories and store any leftover adhesive in a cool, dry place with silica gel.
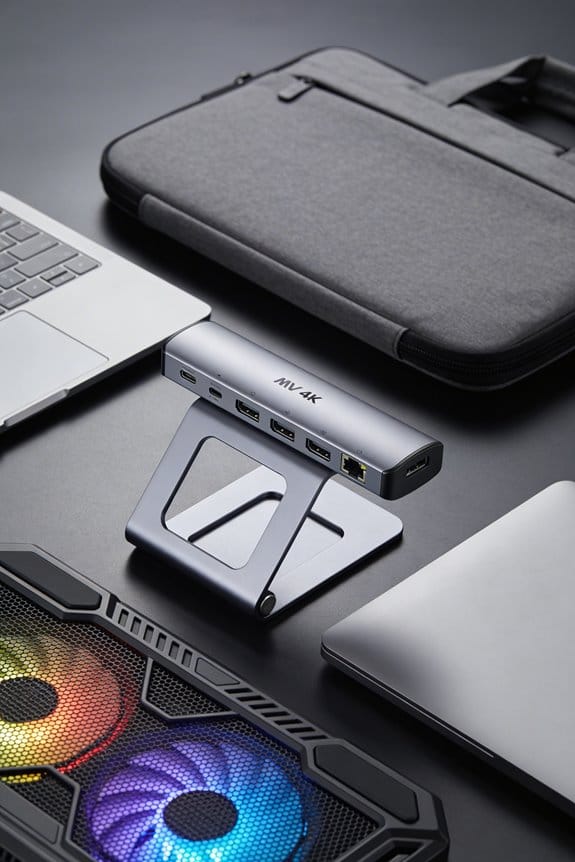
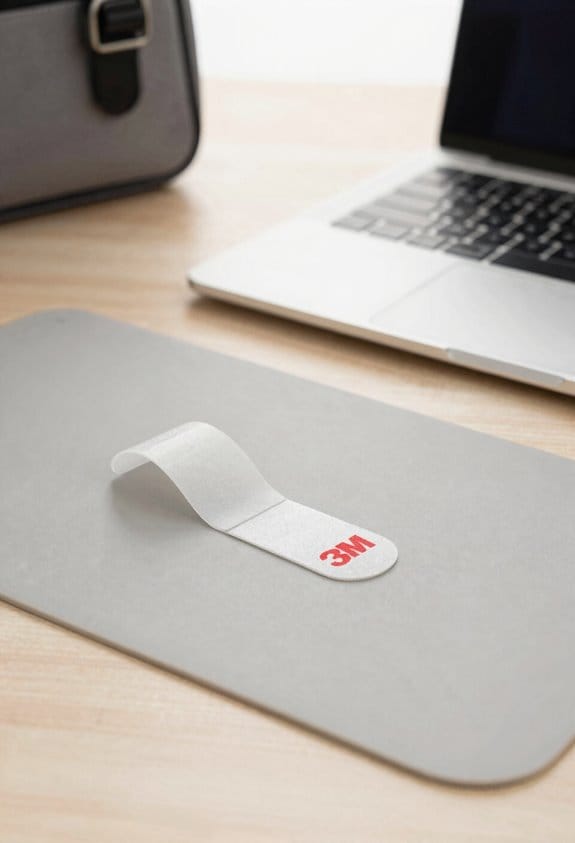
Gather Tools to Safely Remove a 3M Adhesive
We’ll start by gathering a few simple tools that keep the job safe and clean. First, we gather tools like a thin plastic card, a fingernail, and a soft microfiber cloth; each helps us safely remove adhesives without scratching the laptop’s finish. We also keep a small bottle of 70 % isopropyl alcohol and a cotton swab handy for any leftover residue. A gentle heat source, like a 40‑50 °C hair dryer, can loosen stubborn 3M glue, but we use it sparingly to avoid overheating. Finally, we set the laptop on a flat, static‑free surface and unplug all cables, because safety always comes first before we begin the peel.
How to Gently Peel the Adhesive Without Scratching
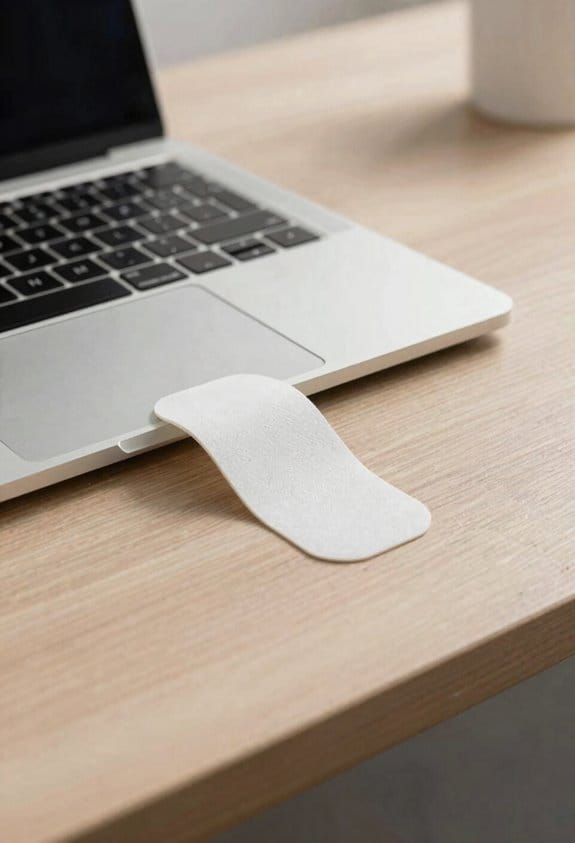
A thin plastic card or even a fingernail works best for the first lift, because it spreads the force over a larger area and won’t scratch the finish. We start at a corner, angle the card just a few degrees, and press gently. The goal is to gently peel the adhesive in a slow, steady motion, not to yank it off. As we lift, we keep the card flat against the surface, letting the adhesive release gradually, which helps us avoid scratching the laptop’s coating.
We watch for any resistance; if it feels tight, we pause, tilt the card a bit more, and continue. Using a soft cloth to wipe away dust before each move also reduces friction. The trick is patience—each half‑inch of lift takes about two seconds. This method keeps the finish pristine and the adhesive reusable.
Shield the Laptop Finish While Working on 3M Adhesive
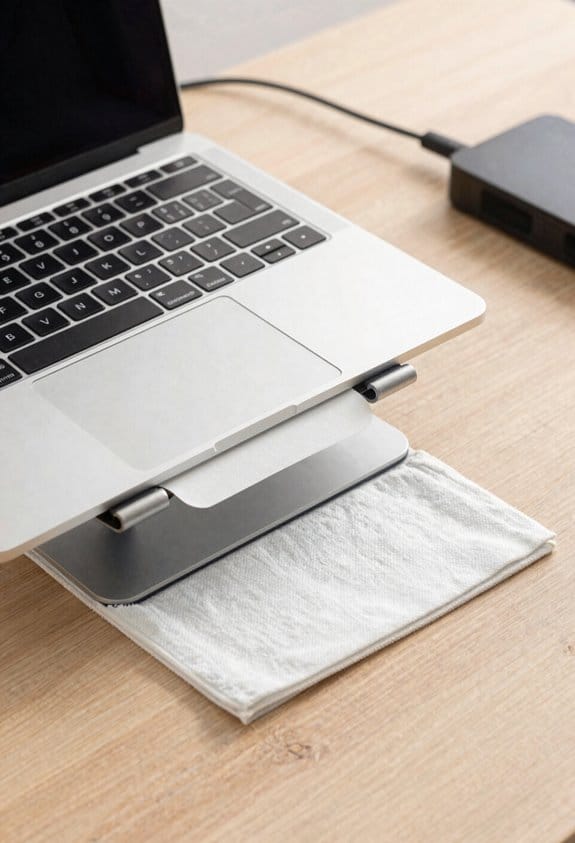
A thin piece of cardboard or a soft microfiber cloth can act as a shield for your laptop’s finish while you work on the 3M adhesive. We place it under the adhesive edge, making sure it covers the whole area we’ll press. This simple barrier gives us shielding finish and surface protection without adding bulk. We press gently, using a plastic card to lift, and the cloth slides away cleanly as the adhesive releases.
If you’re worried about scratches, use a 2‑mm thick cardboard piece; it’s stiff enough to stop any accidental slip. We keep the cloth flat, no folds, so the laptop stays safe. A quick check after each pull confirms the surface stays pristine, and we can continue confidently.
Remove Any 3M Adhesive Residue Safely
Ever wonder how to get rid of 3M adhesive without a mess? We start by wiping the surface with a lint‑free cloth dampened with 70% isopropyl alcohol, letting it sit 30 seconds. Then we use a plastic card to lift any remaining bits, working from the edges inward. If a stubborn patch stays, we apply a tiny dab of the same alcohol, wait a minute, and gently scrape with a fingernail—no metal tools needed.
Our tips for removal include testing the alcohol on a hidden spot first, and using a microfiber towel to blot rather than rub. For those who dislike alcohol, an alternative adhesive remover like citrus‑based solvent works too, just apply sparingly. Remember to let the laptop dry completely before re‑attaching any accessory. This method keeps the finish clean and the adhesive ready for reuse.
Store the Reusable 3M Adhesive Correctly
So, how do we keep our 3M reusable adhesive in top shape? First, we follow clear store guidelines: keep it in a dry, cool place, ideally between 15‑25 °C, away from direct sunlight. We seal the pouch tightly, using a zip‑lock or the original pocket‑sized pouch, to block dust and humidity. For adhesive storage, we place a small silica gel packet inside the container—one per 10 cm² of adhesive works well—to absorb any stray moisture. We also label the bag with the date we last used it, so we can rotate accessories and avoid old, stale sticks. Remember, a quick check before each reuse saves strength and keeps the adhesive ready for the next laptop.
Frequently Asked Questions
Can I Use a Hair Dryer to Loosen the Adhesive?
We can use a hair dryer for heat loosening, but keep it low and brief—don’t overheat the laptop. Warm the adhesive gently, then peel slowly with a plastic card to avoid damage.
Will the Adhesive Damage the Laptop Screen?
We’re confident the adhesive won’t scar your screen, but let’s not tempt fate—adhesive safety matters, and screen damage risk, a myth we’ll debunk with careful, slow peeling and a gentle touch.
How Often Can I Reattach the Same Accessory?
We recommend reattaching the same accessory about three to five times, depending on adhesive longevity, because each removal slightly reduces the bond. Monitor reusability frequency, and replace when the grip weakens.
Do I Need a Special Cleaning Solution for the Laptop Finish?
We don’t need a special cleaning solution; just a mild isopropyl‑alcohol mix works fine. Follow our special considerations and maintenance tips, using a soft microfiber cloth and letting it dry completely before re‑applying.
Can I Store the Adhesive in a Refrigerator for Longer Life?
We don’t recommend refrigeration for longevity; instead, follow adhesive storage guidelines—keep it sealed, cool, and dry, away from direct sunlight, and the adhesive will stay effective for months.