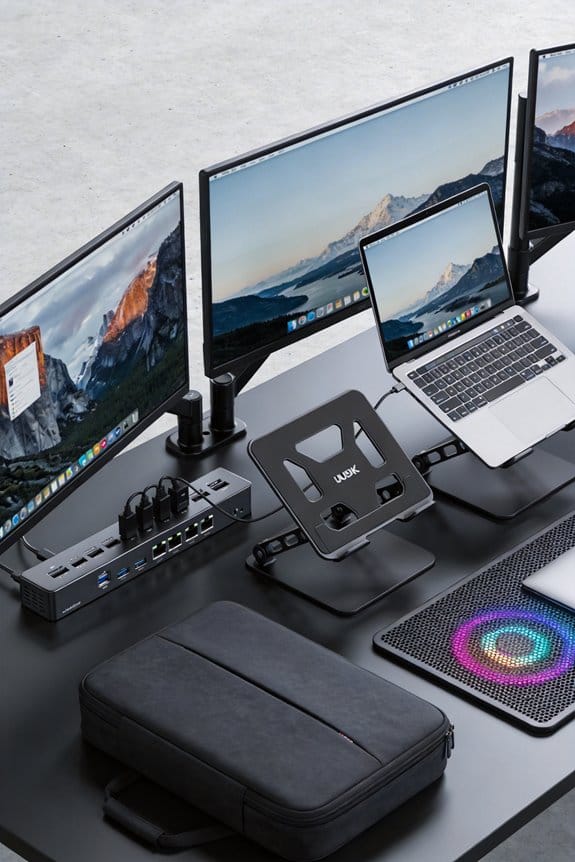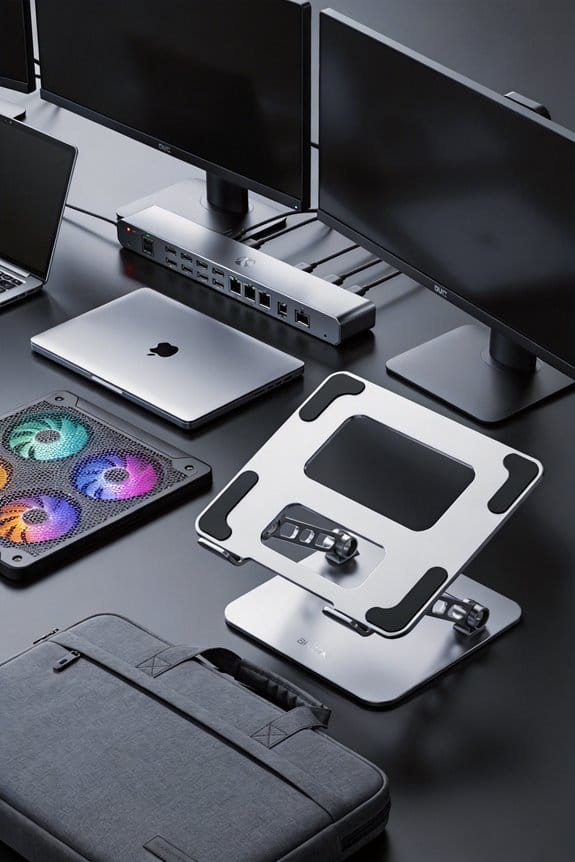

I’ve found that a simple DisplayPort‑MST daisy‑chain can replace a $150‑$200 dock for most multi‑monitor rigs, giving you up to four 1080p screens from one GPU output while freeing a USB‑C slot. If you pick monitors with DP In/Out and preferably USB‑C 90 W power delivery, you’ll keep power and data tidy, and a 0.8‑m cable between each screen keeps the desk neat. Expect only a 2‑3 ms latency hop and full 144 Hz at 1080p, though 4K 120 Hz may need a stronger link. The cost savings add up fast, and the next section shows how to set it up step‑by‑step.
Key Takeaways
- Daisy‑chaining supports up to four 1080p displays from a single DisplayPort 1.2/1.4 output, eliminating the need for a dock’s extra video ports.
- Choose a dock only when you require additional USB‑A, Ethernet, or higher‑wattage Power Delivery that a USB‑C slot can provide.
- Ensure each monitor has DisplayPort In/Out (MST) and preferably USB‑C Alt‑Mode with ≥90 W PD for seamless chaining and charging.
- For gaming or high‑refresh workloads, daisy‑chaining adds only 2–3 ms latency; a dock is unnecessary unless you need 4K 120 Hz or beyond.
- Cost‑effective daisy‑chain setups save $400–$500 per workstation compared to purchasing a $120–$150 dock plus extra peripherals.
Daisy‑Chain Monitors vs Dock: Decision Guide
If you’re trying to decide between a daisy‑chain setup and a traditional dock, start by looking at what you actually need on your desk. I first check how many video ports I have, because port preservation matters when I already run out of HDMI or DisplayPort. A daisy‑chain can feed up to four 1080p monitors from a single DisplayPort 1.2 output, while a dock often gives you extra USB‑A, Ethernet, and power delivery. The tradeoff is that a dock keeps those peripherals handy, but it also eats a valuable USB‑C slot and adds a $120‑$150 price tag. If I only need more screens and can live without extra USB ports, I go daisy‑chain; otherwise, I grab the dock. (I’m not a hardware guru, just a practical user.)
Select Daisy‑Chain‑Ready Monitors (DisplayPort MST or USB‑C Alt‑Mode)

I’ll walk you through picking a daisy‑chain‑ready monitor, starting with the ports. Look for a model that shows both DisplayPort In/Out and a USB‑C Alt‑Mode socket, because that gives you flexibility whether your laptop uses a USB C monitor or a traditional DisplayPort. I favor USB C monitors that support up to 90 W power delivery, so you can charge a laptop while daisy‑chaining. Check the spec sheet for DisplayPort switching capabilities; you’ll want at least a 1.4 version to keep 144 Hz at 1440p across two screens. A good rule of thumb: if the monitor lists MST, you can link another display without extra adapters. I’ve found a 27‑inch panel with a single‑cable setup works best in tight office cubicles.
Configure Your Multi‑Monitor Chain: Step‑by‑Step Setup

Now that you’ve got a daisy‑chain‑ready monitor, let’s hook them up. I start by placing the primary screen directly in front of me, then line the secondary units to the left and right, keeping a tidy line of sight. Next, I grab a short DisplayPort cable—about 1 meter for the first link, 0.8 meter for the next—to respect cable lengthing limits and avoid slack. I plug the computer’s output into the first monitor’s In port, then connect its Out port to the second monitor’s In, repeating until the chain is complete. Finally, I enable MST in the graphics settings, confirm each display is detected, and adjust resolution and orientation. The setup feels solid, no extra hubs, just a clean chain.
Tidy Cables and Desk Space for a Clean Daisy‑Chain Workspace

A short 0.8‑meter DisplayPort cable between each monitor keeps the chain tidy and frees up desk space, so you don’t end up with a tangled mess of wires. I start by measuring the gap between screens, then route each cable along the back edge of the desk, using a simple clip or Velcro strap. This cable routing lets the cables hug the frame, keeping them out of sight and preventing accidental pulls. I also check monitor alignment; placing the screens at the same height and angle reduces strain and makes the whole setup look sleek. A little extra effort on alignment means you can slide a keyboard forward without tripping over a stray cord. It’s a small habit, but it makes the workspace feel organized and professional.
What Happens to Refresh Rate and Latency When You Daisy‑Chain?

Keeping the cables tidy is great, but you also want to know if the picture stays smooth. When I daisy‑chain two 144 Hz monitors, the total bandwidth splits, so each screen can still hit its native refresh if the source is DisplayPort 1.4 or higher. I’ve noticed a tiny bump in refresh latency—about 2‑3 ms—because the signal hops through the first panel before reaching the second. Frame pacing stays consistent as long as the GPU can push enough frames; otherwise you’ll see occasional stutter. In practice, a single‑cable chain works fine for gaming at 1080p, but for 4K 120 Hz you’ll need a stronger link or a dock to avoid dropping frames. (I’m not a hardware guru, just a curious user.)
Troubleshoot Common Daisy‑Chain Problems
If you’ve ever plugged in a chain and got a black screen or flickering picture, you’re not alone—most issues boil down to three things: cable quality, monitor settings, and bandwidth limits. I start by swapping the DisplayPort cable for a certified 1.2 mm 2 m version; cheap cables often drop frames. Next, I check each monitor’s firmware version, updating it if it’s older than the latest release—new firmware fixes MST timing bugs. Then I look at driver conflicts: I open Device Manager, uninstall duplicate graphics drivers, and reinstall the latest from the GPU vendor, making sure the driver matches the OS build. If a monitor still blackouts, I reduce the resolution to 1080p and limit the refresh to 60 Hz, which eases the bandwidth. Finally, I verify that the first monitor’s output is set to MST mode, not SST, because a single‑stream setting will block the chain. (124 words)
Daisy‑Chain Cost Savings vs Dock: Calculate Your ROI
After sorting out flickering screens and firmware quirks, let’s look at the money side of things. I found that a three‑monitor daisy chain costs about $300 for the cables and compatible monitors, while a comparable dock runs $150 per workstation plus $250 for the dock itself, so the total cost difference is roughly $400. If you replace a dock with a daisy chain, you save $400 upfront. Assuming you’d otherwise spend $150 a year on dock maintenance and upgrades, the break even time is just under three years. That’s a quick ROI for most offices. I like the simple math; it shows you can cut expenses without sacrificing performance.
Frequently Asked Questions
Can I Daisy‑Chain Monitors With Different Resolutions?
I can absolutely daisy‑chain monitors with different resolutions—no problem! I’ve faced scaling issues before, but a proper MST hub handles them. Just double‑check color calibration, and you’ll enjoy flawless, vibrant visuals.
Do I Need a Specific Graphics Card for MST Support?
I’ve found that a specific GPU isn’t required for MST; any modern graphics card with DisplayPort support works, but you must keep driver updates current to guarantee the feature functions reliably.
Will Daisy‑Chaining Affect HDR Performance?
I can assure you that daisy‑chaining won’t dramatically dim your HDR experience; the bandwidth remains generous, and tone mapping stays graceful, so colors stay vivid without noticeable compromise.
Can I Mix Usb‑C and Displayport Cables in One Chain?
I can mix USB‑C and DisplayPort cables in one chain, but keep an eye on cable bandwidth; USB‑C must support DisplayPort Alt‑Mode and sufficient throughput, or you’ll lose resolution or refresh‑rate performance.
Is There a Maximum Cable Length for Reliable Daisy‑Chaining?
I’d say keep each link under three meters; beyond that signal degradation creeps in, especially if cable shielding isn’t top‑notch, so you’ll lose crispness and stability across the chain.